
Upgrading from velcro-only shoes to laced-up sneakers is an important step in life. Days are spent practicing the perfect bow-tying method, and people even argue as adults over tying with the bunny ear method versus the loop-and-wrap trick.
Despite the years of shoe tying experience under your belt, you're still doing it wrong—and you're lacing your shoes up in a way that may be causing you unnecessary pain. Here's how to fix every pair of shoes in your closet.
You're Skipping a Hole
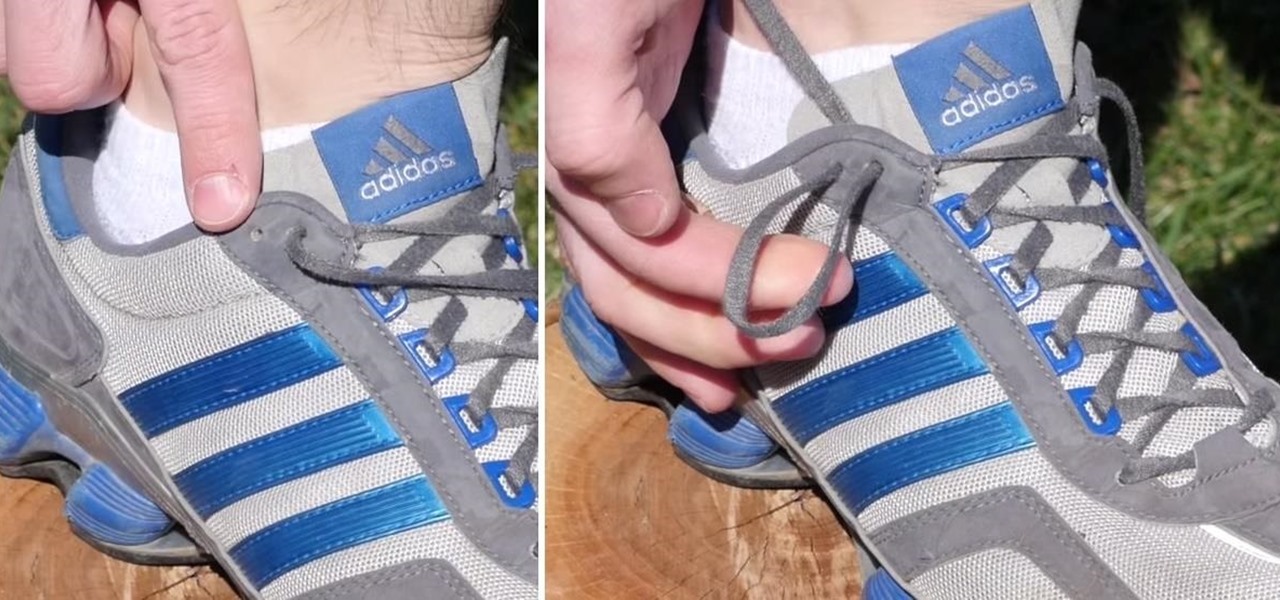
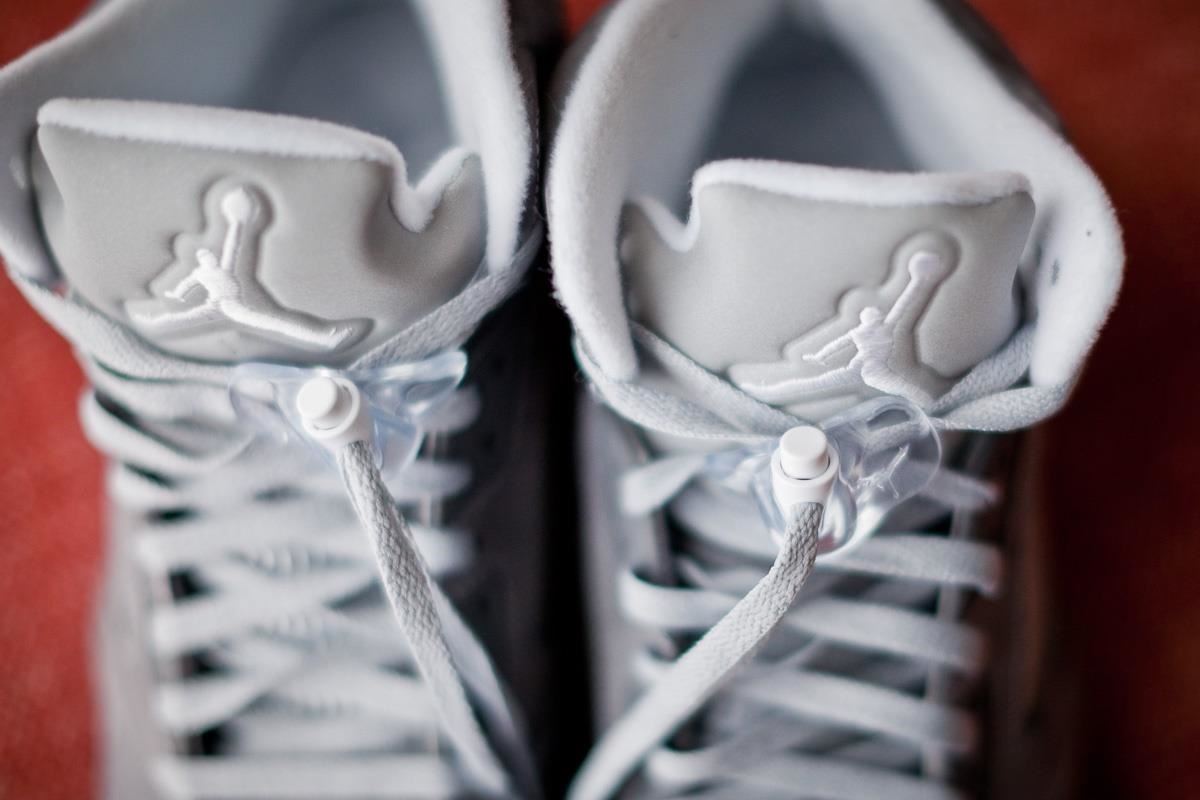
When you've laced up a brand new pair of running shoes, or any other footwear that feature laces, have you noticed that you skip a hole? Hiding in plain sight at the very top of your shoes, near the tongue, are pairs of additional lace holes—and most of us skip these. After all, they're awfully high up, hard to see, and seem odd in their positioning. If the store doesn't recommend using them, why do so?
When we find brand new blisters or rawness on our heels, we often assume it's because we need to "break in" our shoes, or force them to conform to our feet. However, if it's running shoes or any kind of sneaker, the blisters may be forming because you've been wearing them poorly.
According to Illumiseen, lacing your shoestrings through that one extra set of holes can make all the difference.
How to Solve the Blistering Problem
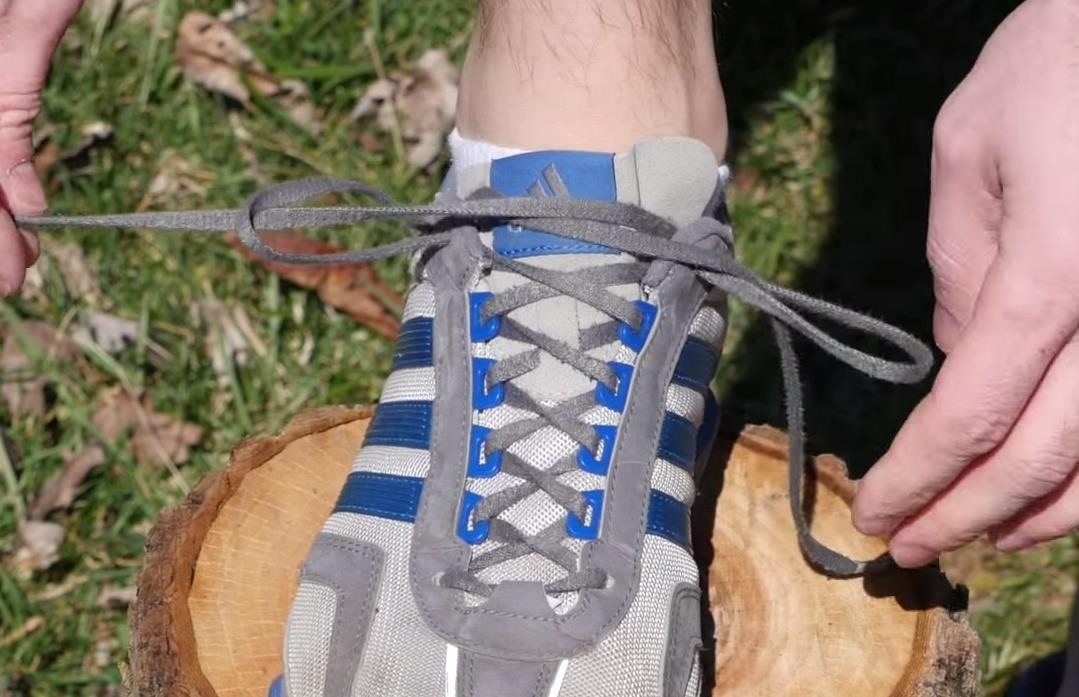
The style Illumiseen describes is known as both the "heel" or "lace" lock method of lacing up your shoes. If you spend a lot of time on your feet—running, hiking, walking, or working out—you need to keep your shoes tightly tied to your feet.
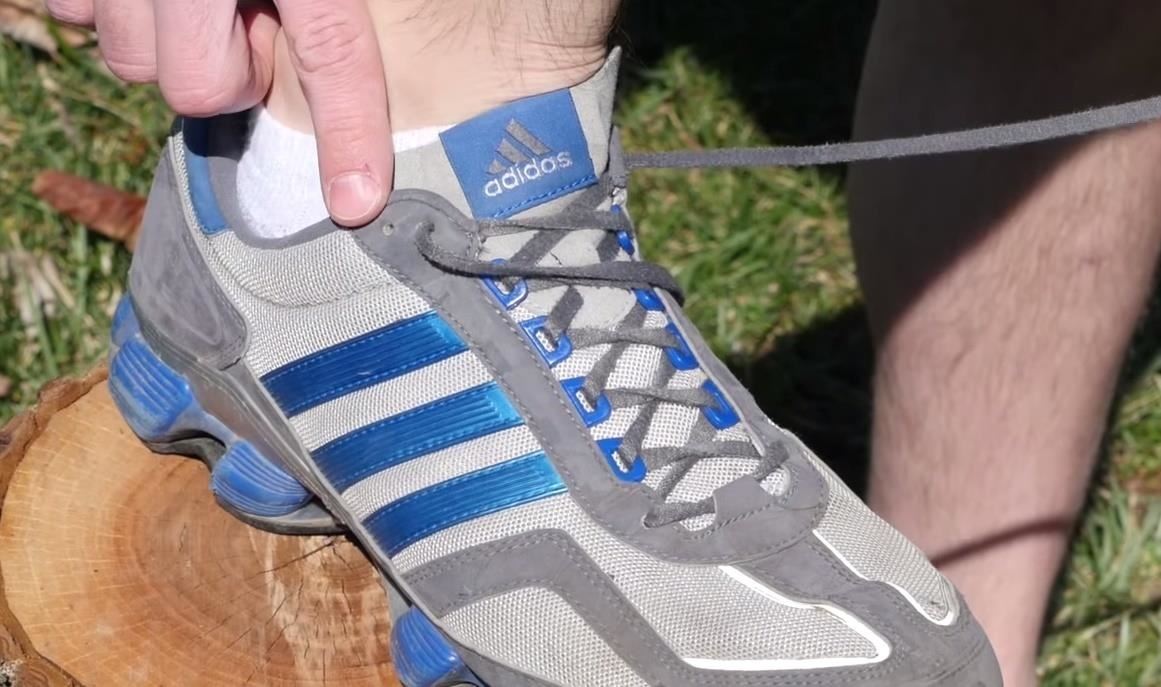
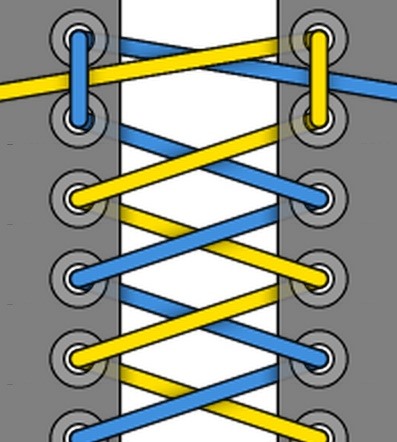
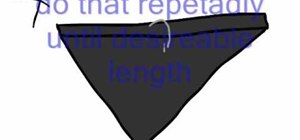
- The goal is to create two loops, threading each strand of the laces through the extra hole and inward, toward your ankle.
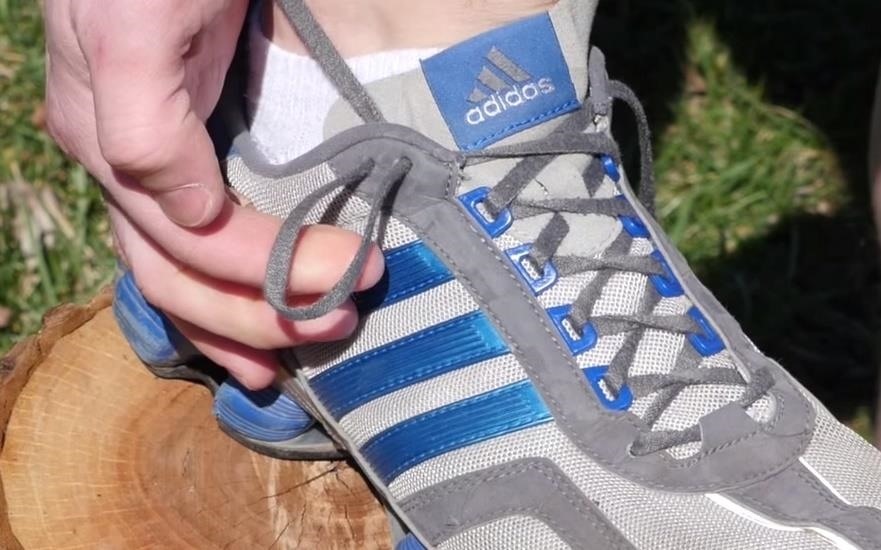
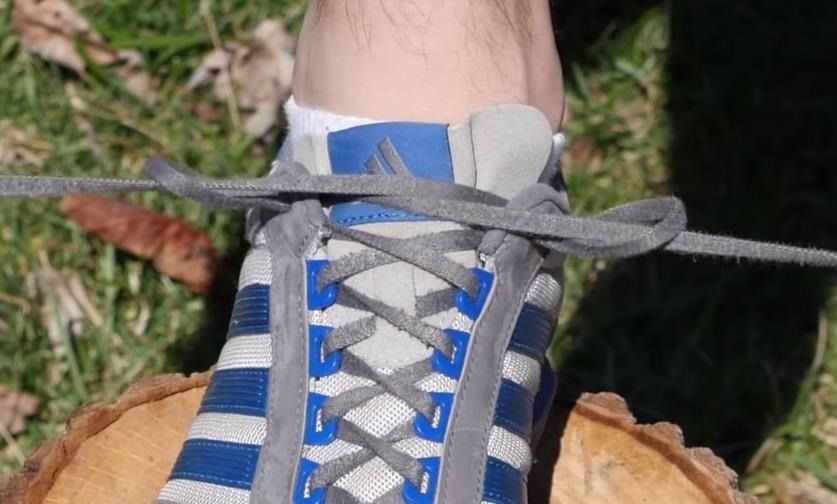
- From there, cross your laces as usual, taking the tip of each and threading it into the loop opposing it.
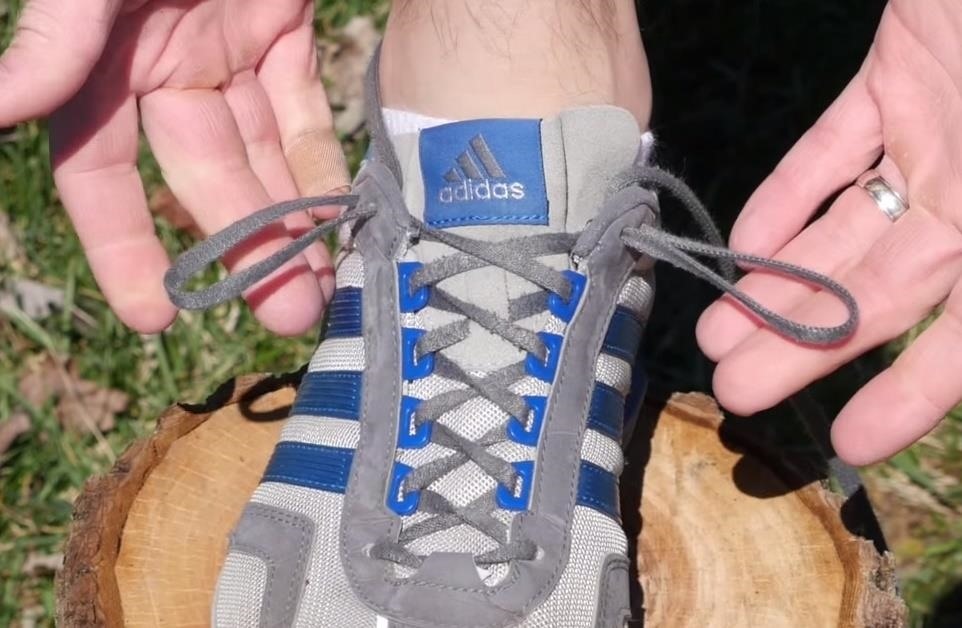
- Pull tight, and cinch up the loops as you draw the laces across as closely as you can.
- Make sure to pull the laces downwards, to "lock" them into place.
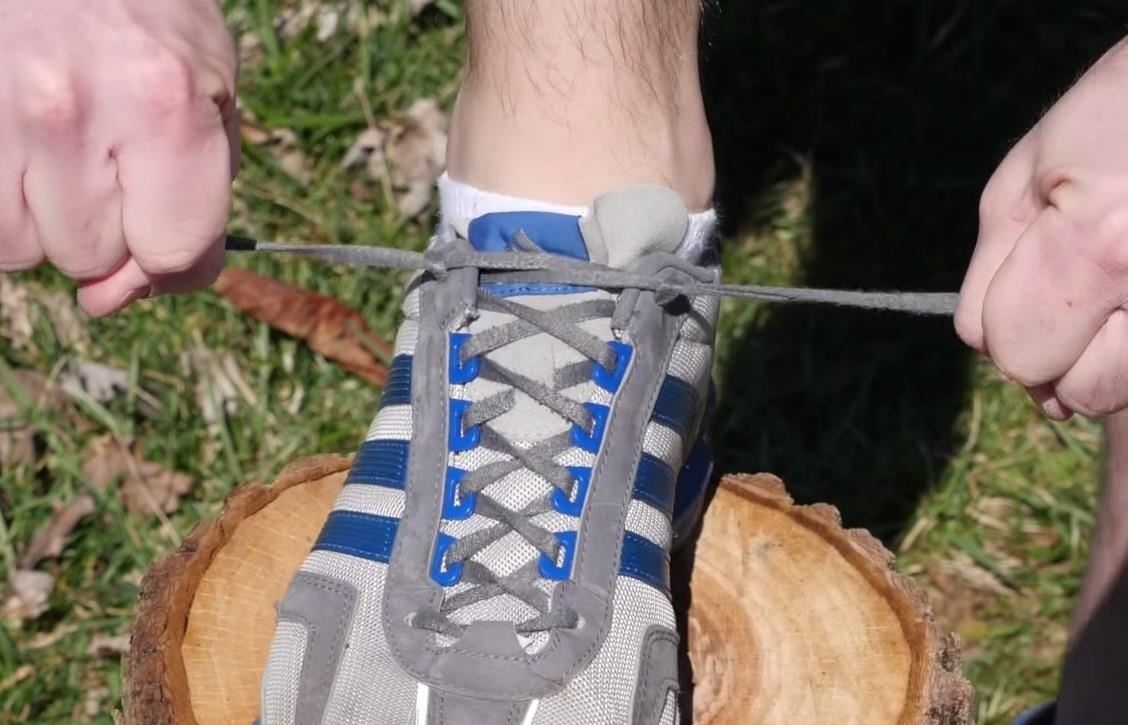
- Finally, tie your shoes as you normally would. Here's a diagram to better help you understand the lock lacing method.
Lock Everything in Place
Wondering why this one extra step works? When we skip those additional holes and lace up our shoes, we're keeping the shoes themselves loose around our feet and ankles. The more we move, the more the shoes will move independently, too—meaning that, as you run, your shoes will slide easily up and down against your skin, creating friction.
With this unique "lock" method, you are better able to tie your shoes. They are not only tighter, creating less friction, but also spend less time shifting around your feet. As Illumiseen describes, it can even help prevent toenail problems by keeping the heel and toe from slipping and slamming into the front and back of the shoe. The sturdier your lace-up work, the better the fit—and the fewer blisters you'll suffer.
Just updated your iPhone? You'll find new emoji, enhanced security, podcast transcripts, Apple Cash virtual numbers, and other useful features. There are even new additions hidden within Safari. Find out what's new and changed on your iPhone with the iOS 17.4 update.


2 Comments
So you mean my life has been a lie all the time.
Now if my laces were just a couple of inches longer...
Share Your Thoughts